Adding a Mac to the Research Domain
OBSOLETE - Left For Reference
SIAT Research LDAP-server was taken out-of-service in 2020, along with user-home-dir file-servers. We now use SFU services.
OBSOLETE
Using LDAP and Automount.
Written for Panther 10.3, and Tiger 10.4.
If you configure the Research Domain on Panther, and later upgrade to Tiger, it does not ruin the setup.
Configure LDAP
- Open Directory Access (in Utilities) and set all items but LDAPv3 to disabled.
- While Selected on LDAPv3, click Configure� and then click Show Options.
- Uncheck Use DHCP-supplied LDAP Server
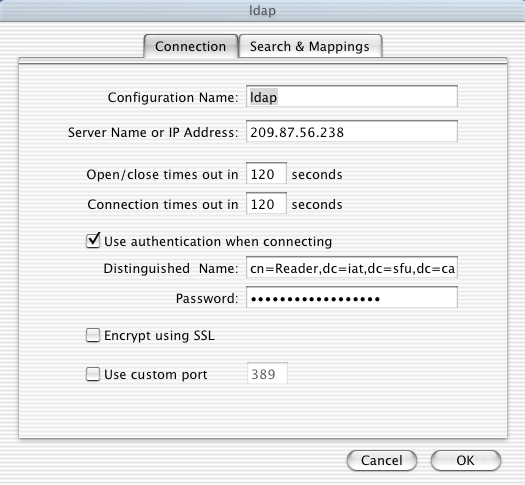
- Create a new ... configuration with the following properties (In Tiger, use Manual mode):
- Configuration Name: Research
- Server Name or IP Address: 209.87.56.238
- LDAP Mappings: RFC 2307 (Unix)
- Search Base Suffix: dc=iat,dc=sfu,dc=ca
- SSL is not selected
- Click Edit...
- Go to the Security Tab, check Use authentication when connecting
- Distinguished Name: cn=Reader,dc=iat,dc=sfc,dc=ca
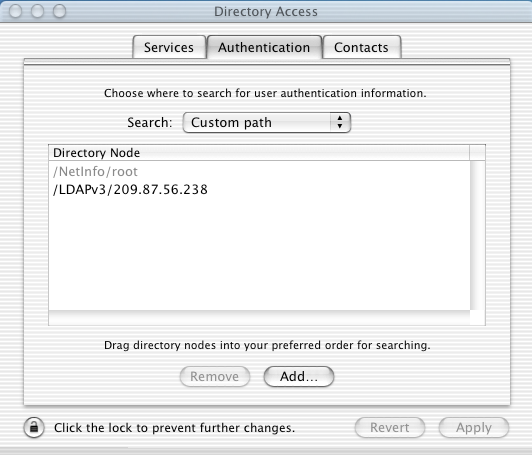
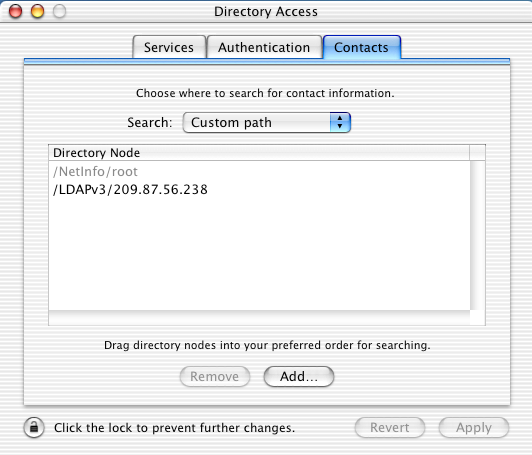
- Go back to Directory Access and in the Authentication and Contacts tabs, Search should be selected on Custom path
With that done Add... /LDAPv3/209.87.56.238
Enable Root User:
- Open NetInfo Manager (in Utilities), click Security, and then Authenticate. Log in as someone with admin privileges.
Then click Security again and click Enable Root user. This is required for the next step.
Configure Automounting of Home Directory
Note: when trying to secure copy (scp) from Tirpitz, you will be prompted for a Tirpitz acct. password. But Tirpitz has been changed to disallow anyone trying to login externally as root. So, prior to performing the following steps, Tirpitz's security will have to be modified to allow root login.
- Open a terminal (located in Utilities) and switch user to root.
- # su -
- Create the following directories:
- #mkdir -p /home/users
- #mkdir -p /home/projects
- #mkdir -p /home/local/bin
- Copy files or folders from the lightning server as root:
- #scp root@tirpitz:/usr/local/automounting/usr/local/bin/\* /usr/local/bin
- #scp root@tirpitz:/usr/local/automounting/etc/crontab /etc/crontab
- #scp root@tirpitz:/usr/local/automounting/bin/localshell /bin/localshell
- #scp -r root@tirpitz:/usr/local/automounting/etc/localshell /etc/localshell
- Run:
- # /usr/local/bin/update-automount.sh
- Test by logging into the machine with a research account.


